NOTE: This technical article was published long time ago. It may be not up to date. Please check for the newest versions of mentioned software. Also I am not able to provide technical support anymore. Thank you for your understanding.
Most of the servos that are available at reasonable prices are “standard” servos. That means, the output shaft of the servo can be positioned in the position from 0 to 180 degrees. It can be set by the duration of the pulse sent to the control wire (yellow, orange or white) of the servo. Other two wires are power (red) and ground (black or brown). In Arduino, there is Servo library, which serves this purpose.
Standard servo is useful when you want to control angle. However sometimes, you need continuous rotation in specified direction. It is easy to modify standard servo to become continuous servo. In such case, degree of 0 means full speed in one direction, 180 – full speed in other, while middle value means no motion (it is around 90 – more about calibration later).
This tutorial will show you, how to perform such easy modification. You will need to remove the potentiometer and replace it with two 2,2k Ohm resistors.
Tools needed:
- standard servo (I used popular Futaba S-148 which is very standard design, so this tutorial applies to other similar servos too)
- Two 2,2k Ohm resistors (look for 2k2 marking)
- small screwdriver
- small blade or similar tool
- soldering iron & solder
- optionally solder sucker (desoldering pump)

Equipment
First, remove four long screws on the back panel of the servo. Remove the panel.
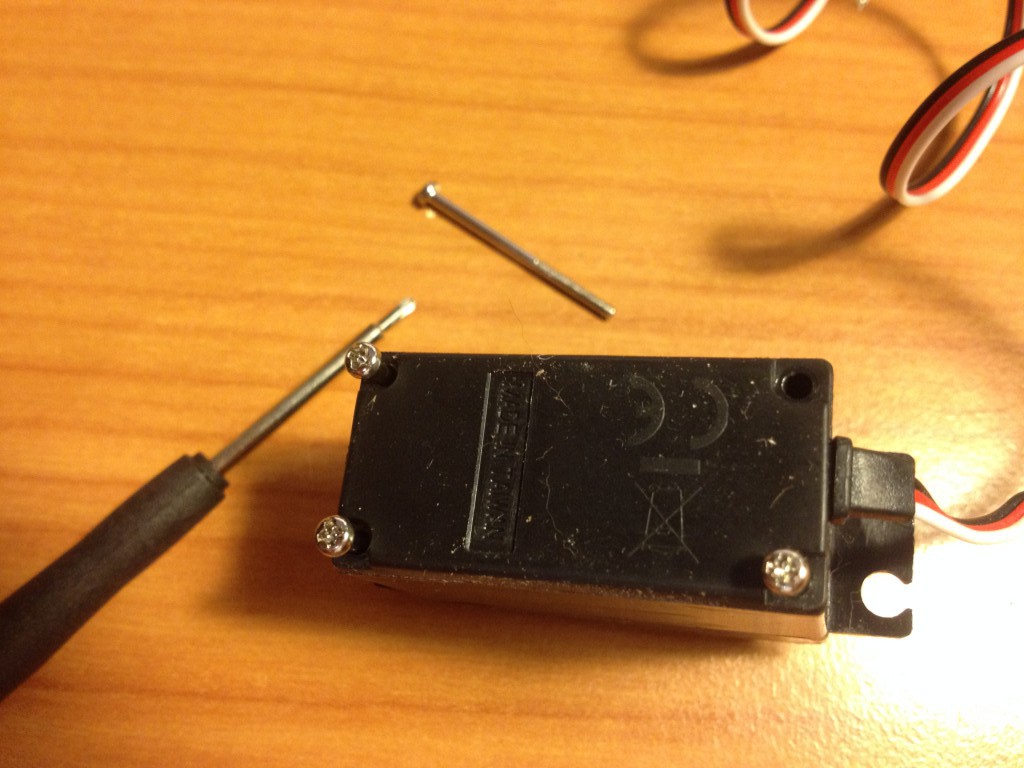
Unscrewing the servo
Next, remove the front panel. Be careful with the shafts. Don’t misplace them – it’s best to stack them the same way, as they are arranged inside the servo. Watch out – they are covered in grease.

Removing the top cover
Shafts removed
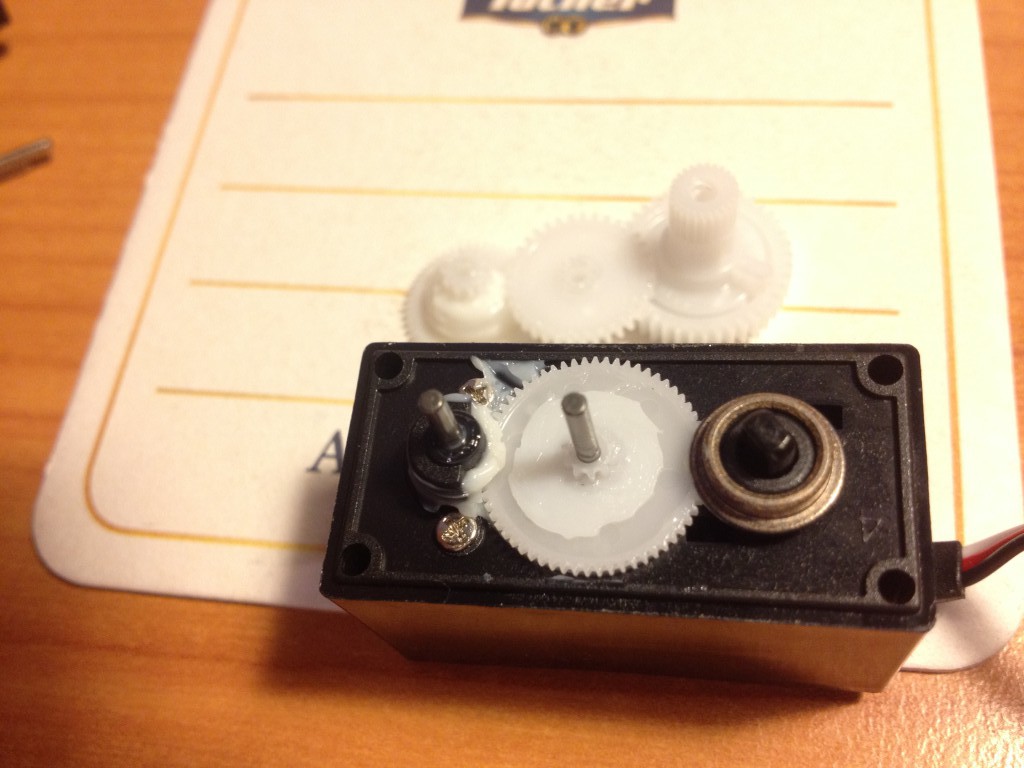
Remove the mechanism from the cover. To do this, remove two screws on he right, then push firmly the potentiometer (on the right in the above photo). Don’t worry, you won’t break it. Then, lift the board at the bottom and pull it. This is how the mechanism looks without the cover:
Servo without the cover
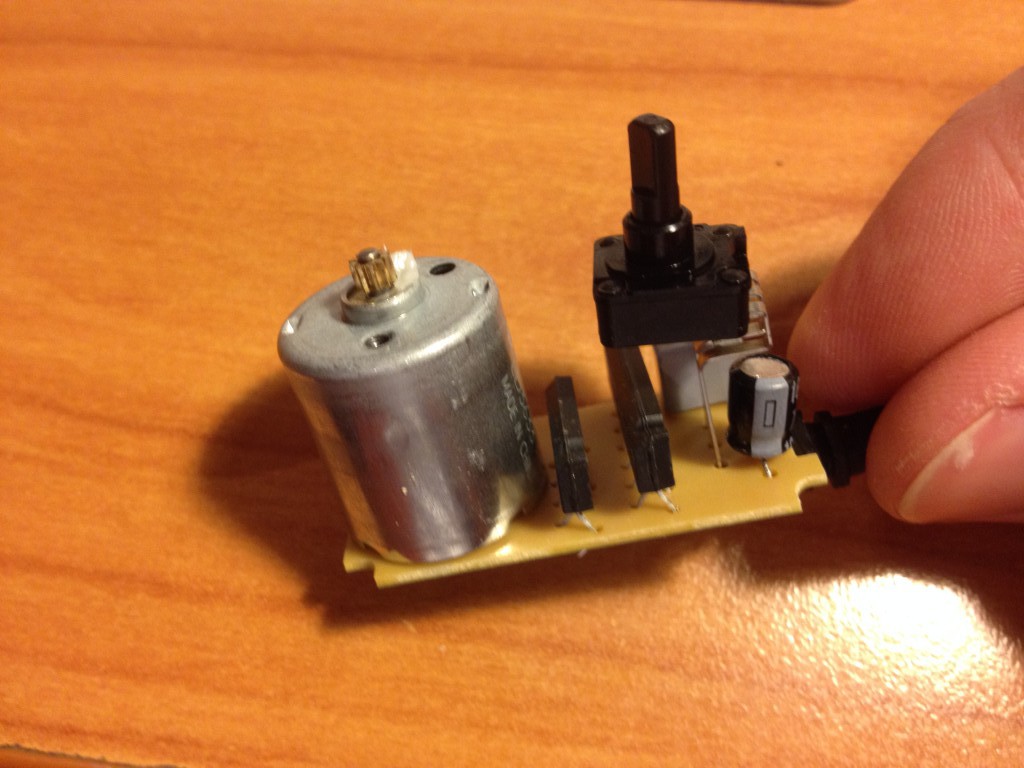
On the right side is the potentiometer. Remove it, by cutting the legs with wire cutters or just moving them until they break. You won’t need it anymore – keep it to use later in other projects. Use soldering iron to remove the rest of the legs from the board. I suggest to heat the solder from below, then use desoldering pump to remove the liquid solder. Third hand may be handy.
Now take the two 2k2 (2,2k Ohm) resistors. Connect them in parallel this way, that resistors are on the sides and there is extra wire inside. Put this element in the place of potentiometer and solder it from below:
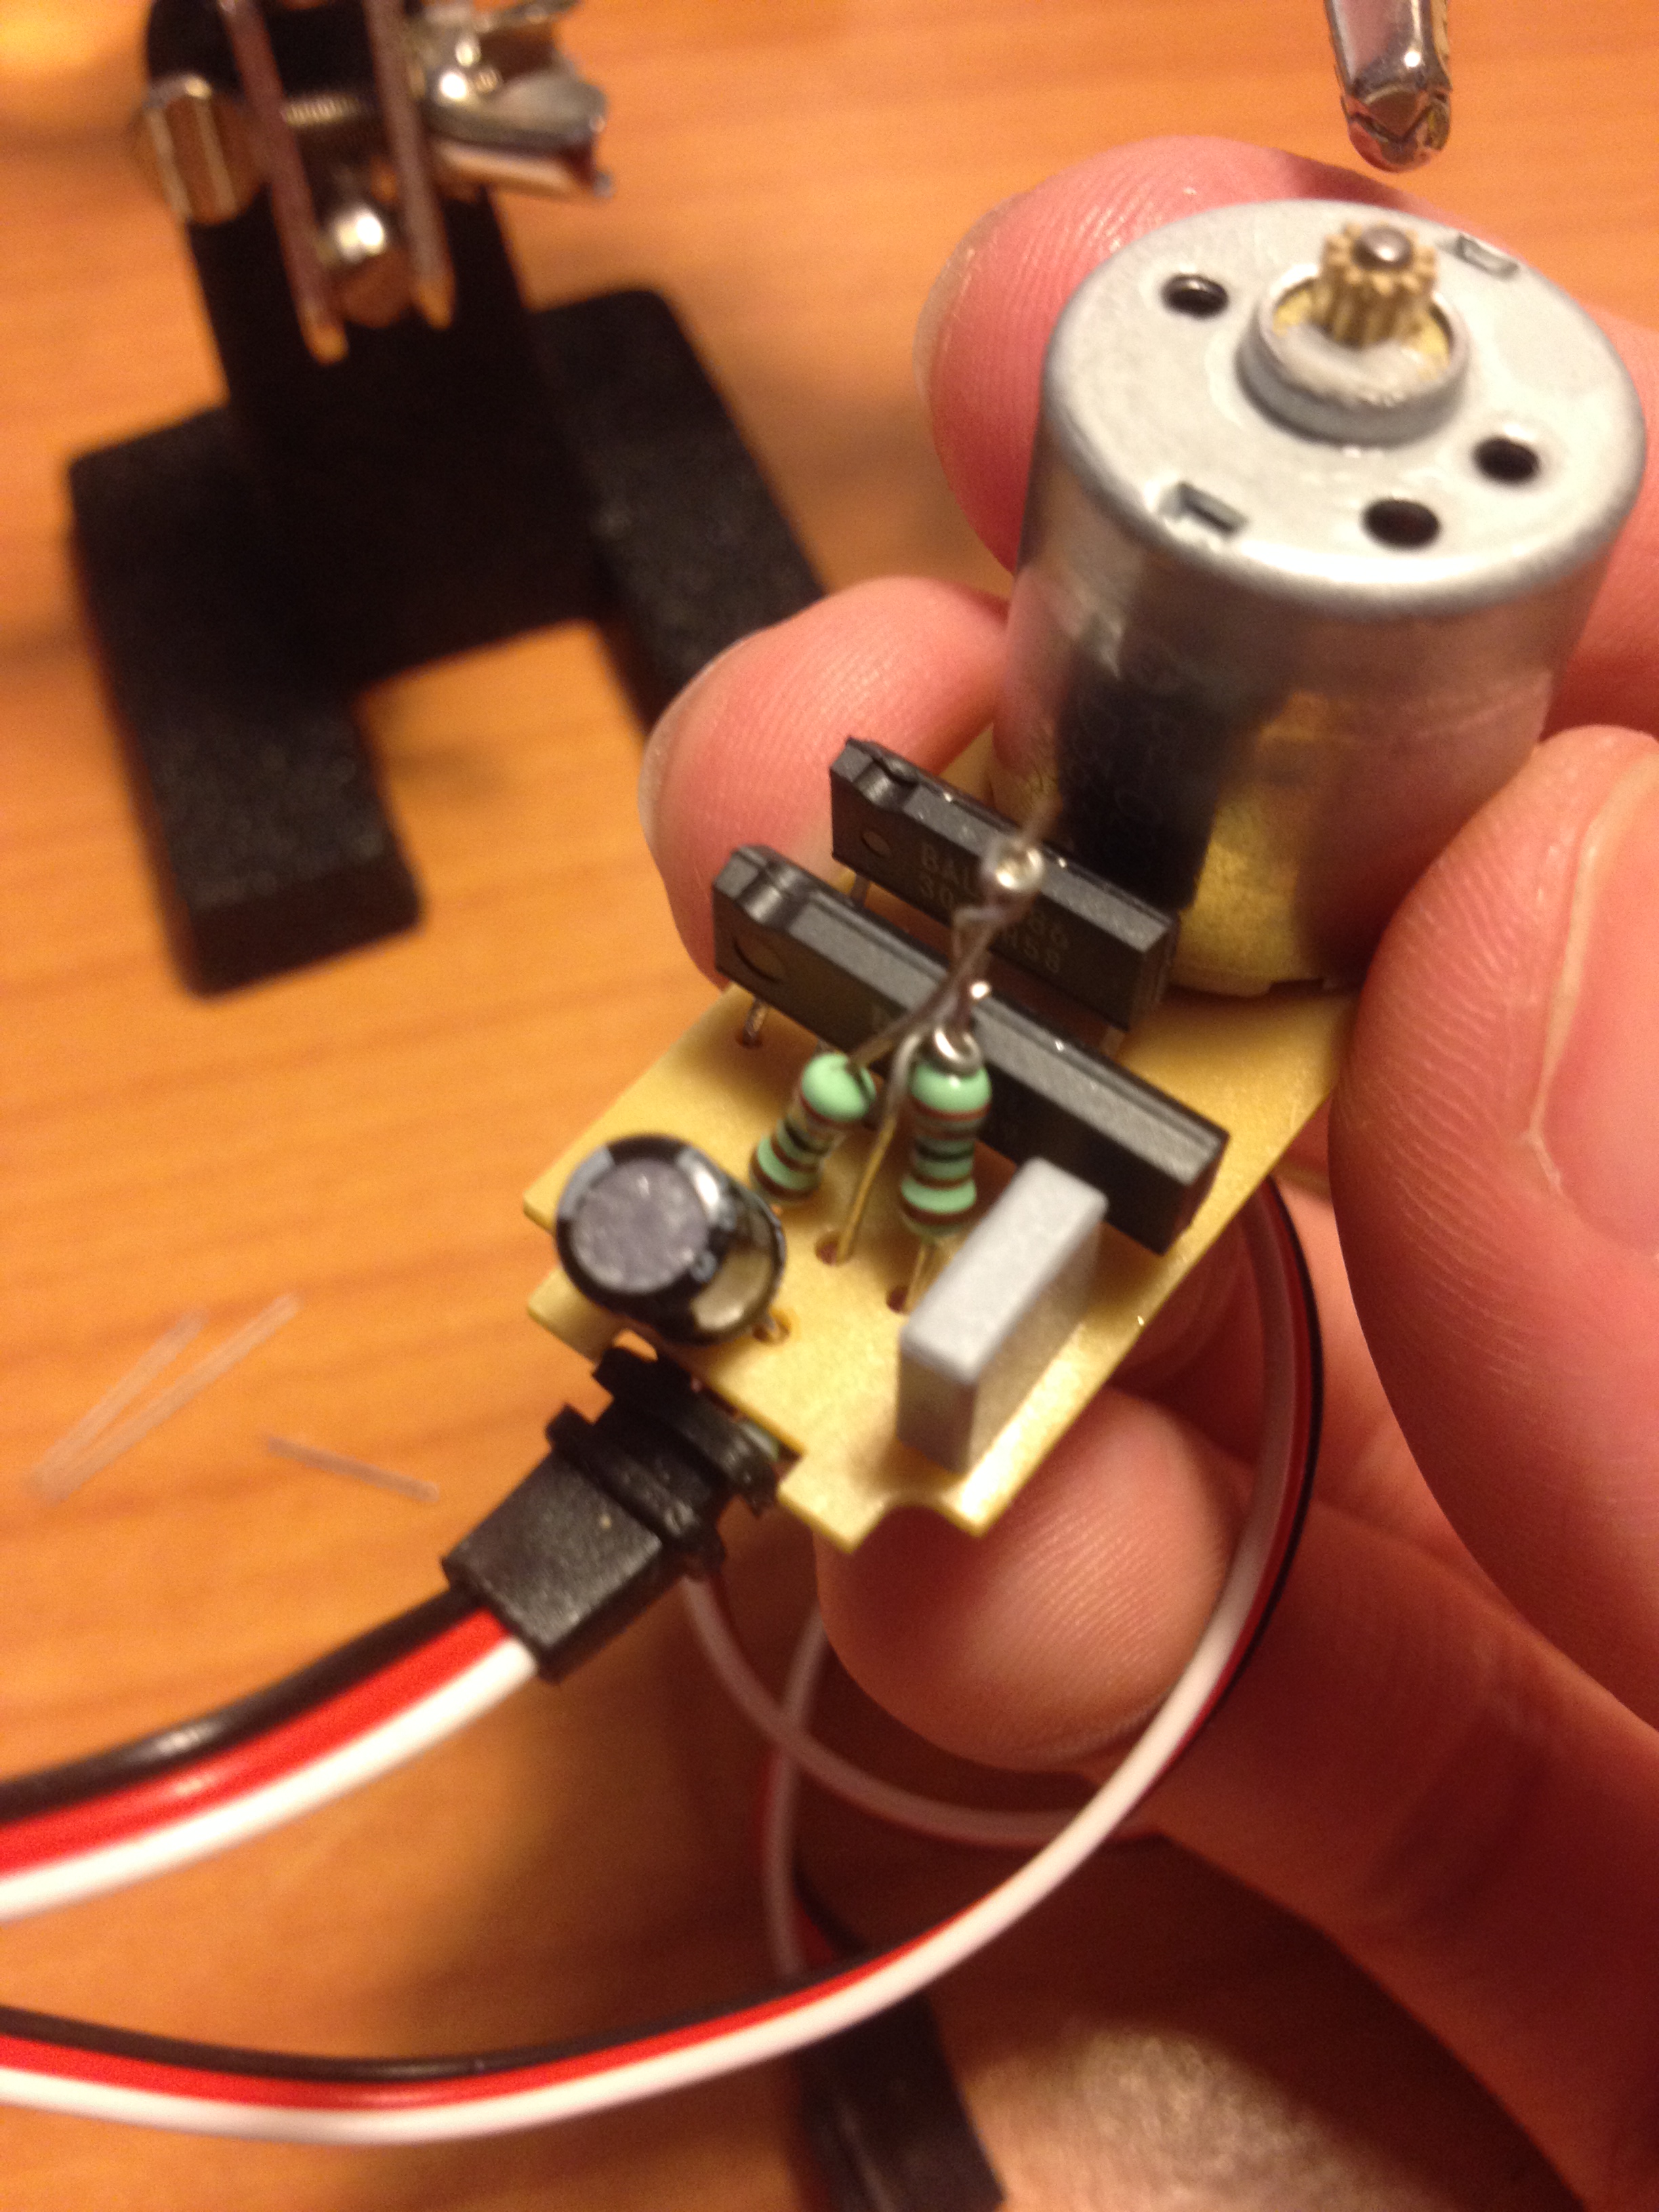
Final setup
As a last step, the mechanical stop at the output shaft needs to be removed. Do it with sharp blade, knife, etc. This needs to be done very precisely, so nothing gets in the way of moving shaft:
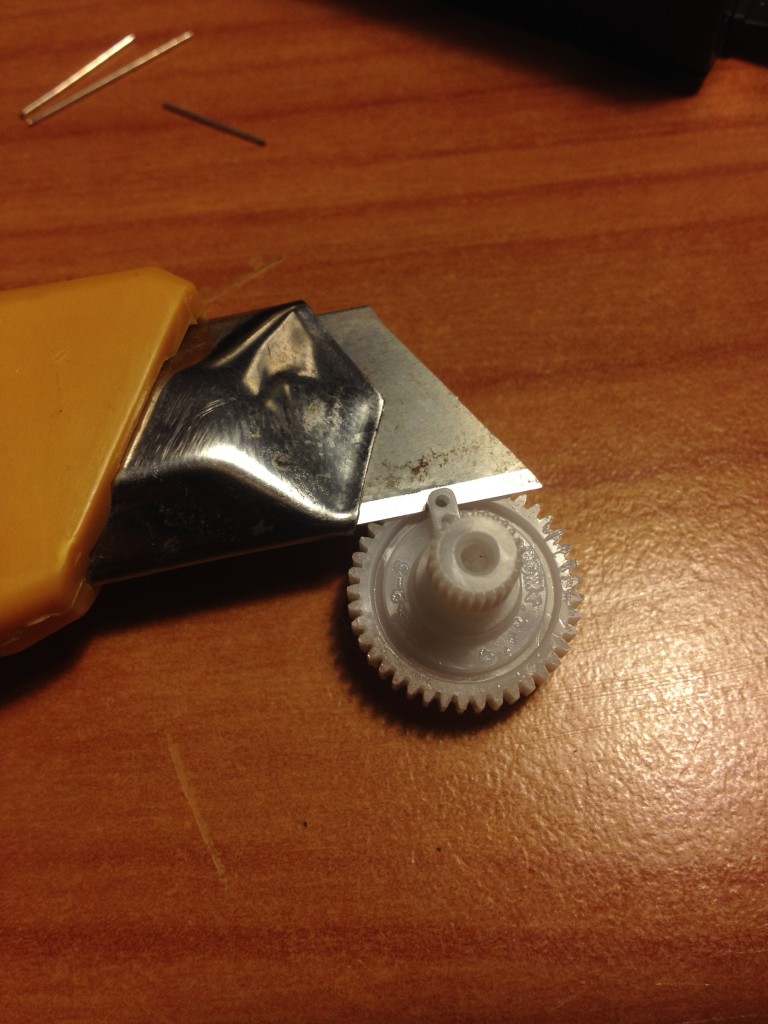
Removing the mechanical stop
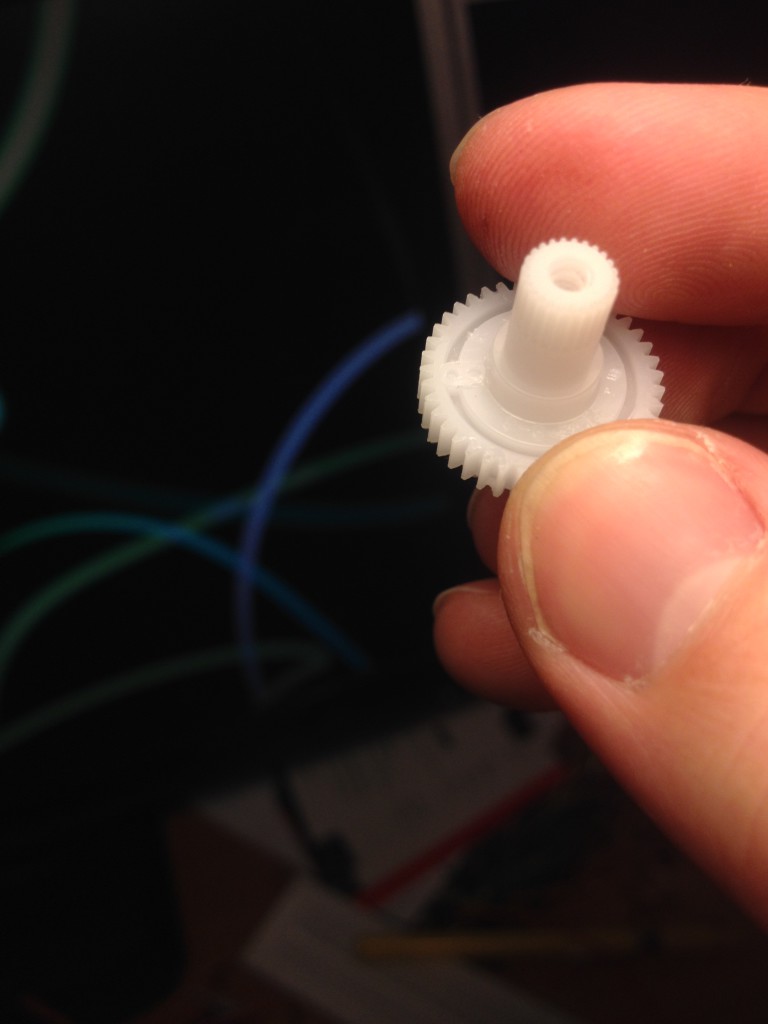
Mechanical stop removed
Now reassembly everything back. Remember about proper layout of the shafts. Don’t forget also about the small screws – I always forget about them 🙂
Now, you have a servo that can run continuously in both direction. However, you need to know, what value should be set as a middle – “stop” – value. Theoretically it should be 90 degrees, but from my experience it rarely is. To learn this value I suggest to use my small servocali Arduino sketch. After connecting the servo to Arduino (control wire to pin 9) start the sketch and open the serial monitor in the Arduino IDE. Consecutive values from 0 to 180 will be transmitted to servo and serial port at the same time. The middle value is the one when the servo stops rotating. Note it down and use in your setup.
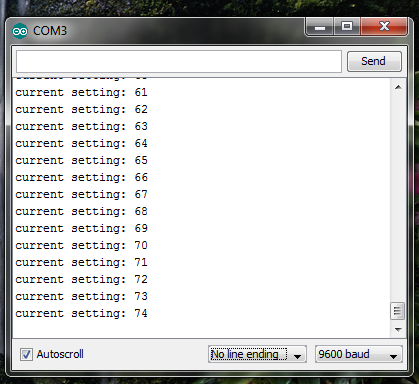
Servo calibration
Enjoy working with your own continuous rotation servo! 🙂